How to clean your camera sensor
One of the downsides of buying a camera with interchangeable lenses, is that sooner or later dust will get into your camera and you will need to clean your camera sensor.
You can minimise the chance of getting unwanted dirt onto your sensor by holding your camera so it is facing down when changing lenses. However, shoot for long enough and inevitably one day you’ll see the dreaded spots on your photographs.
In general, you will only see the dust when you are shooting with higher apertures. When shooting wide open you will probably not notice dust particles in your photograph, even if there is dust there.
I always try to clean my sensor before every wedding. The last thing I want when I get home and editing the photos is to see dust all over my image. Thankfully with modern software dust spots are easily removed but having a clean sensor to start with helps with efficient workflow and allows you to deliver your images to your bride & groom quickly.
Below I will talk about some of the things you can do to get your sensor clean but before we do that, let’s run over a few things that you should never do.
Things NOT to do
1. Never use compressed air in a can to dislodge debris. The ‚Äòair’ in these cans typically come out at great force and may damage your sensor. They also use propellant liquids which can settle on your sensor which end up making things worse, not better.
2. Do not use cotton buds or anything not specifically designed to clean sensors. Again, you risk at the very least leaving lint all over your lovely camera sensor and at worst, scratching it. The best cleaning equipment should be lint free.
How to check
Well if you are reading this then chances are you’ve already seen some dust/dirt and want to know how to clean your sensor. However it is always useful to know how to see the dirt so you can know if/when you’ve cleaned your sensor enough.
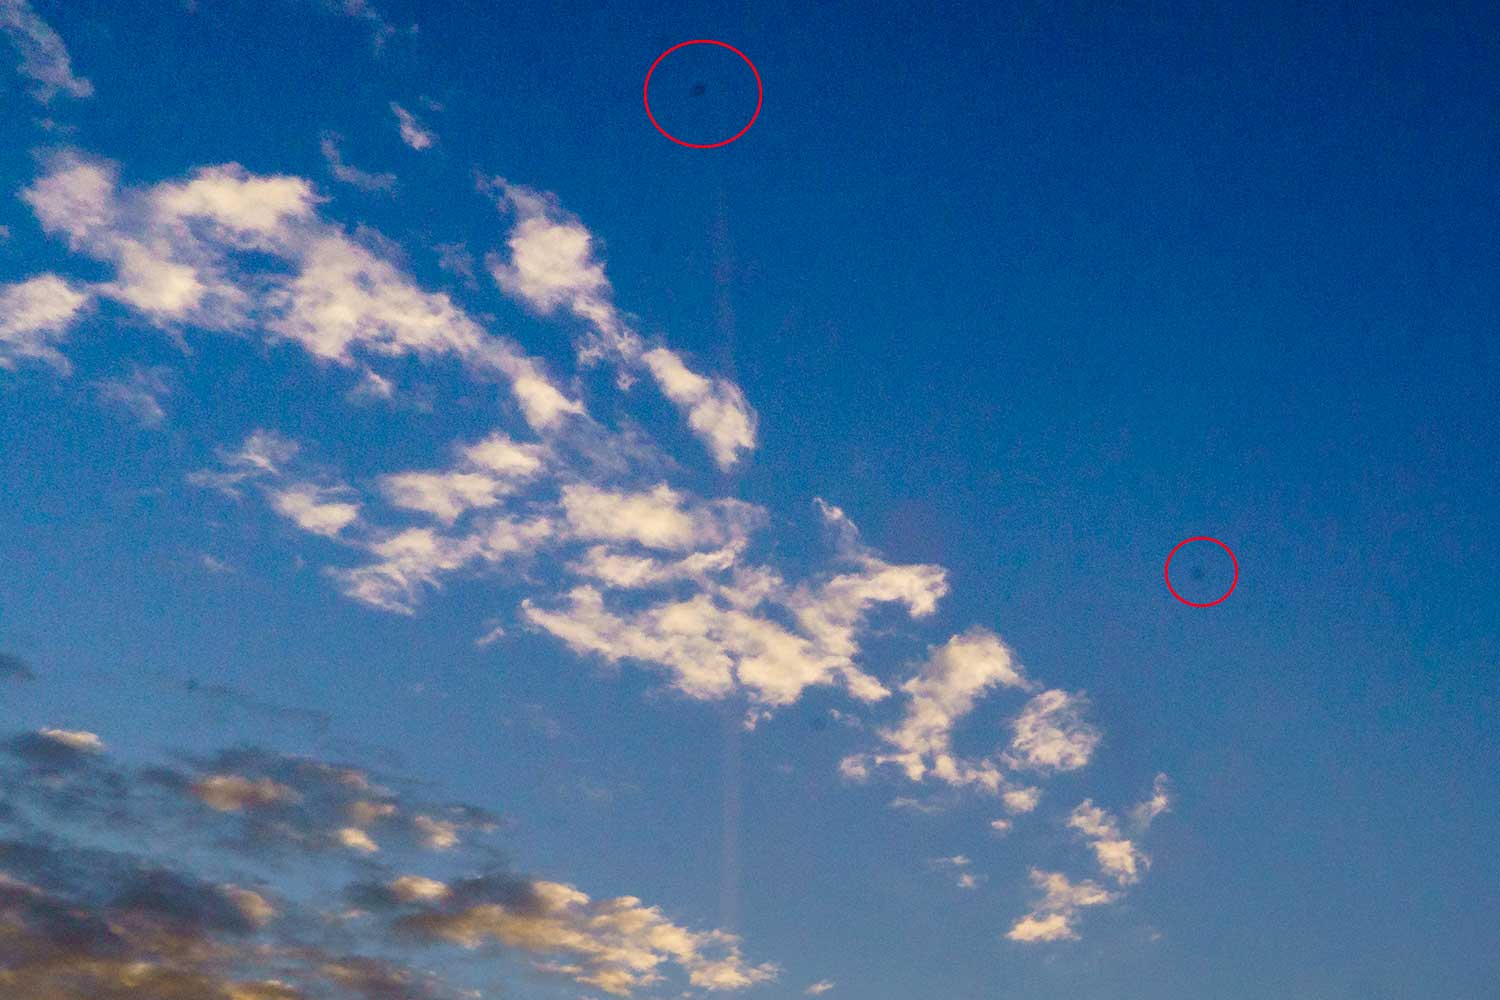
The quickest way is to set your camera to use a high aperture (eg. f/16 – f/22). Set it to aperture priority and point the camera at a clear sky. Take a photo.
If you see dark/grey blobs or any other random stuff that wasn’t in the sky itself then chances are it is just dust on your sensor.
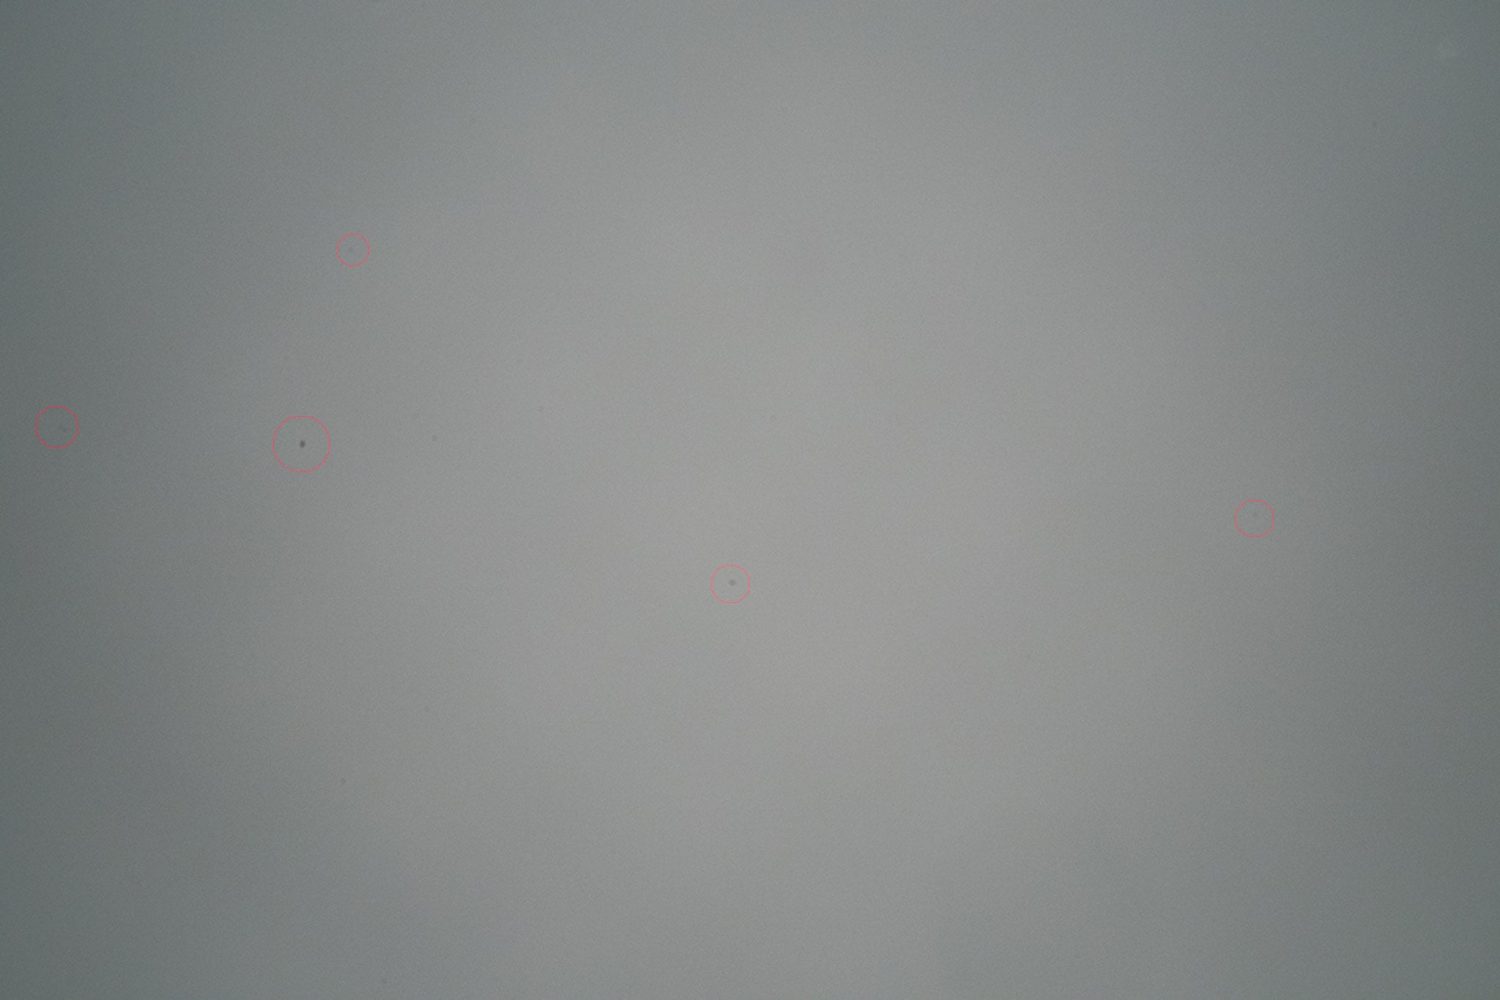
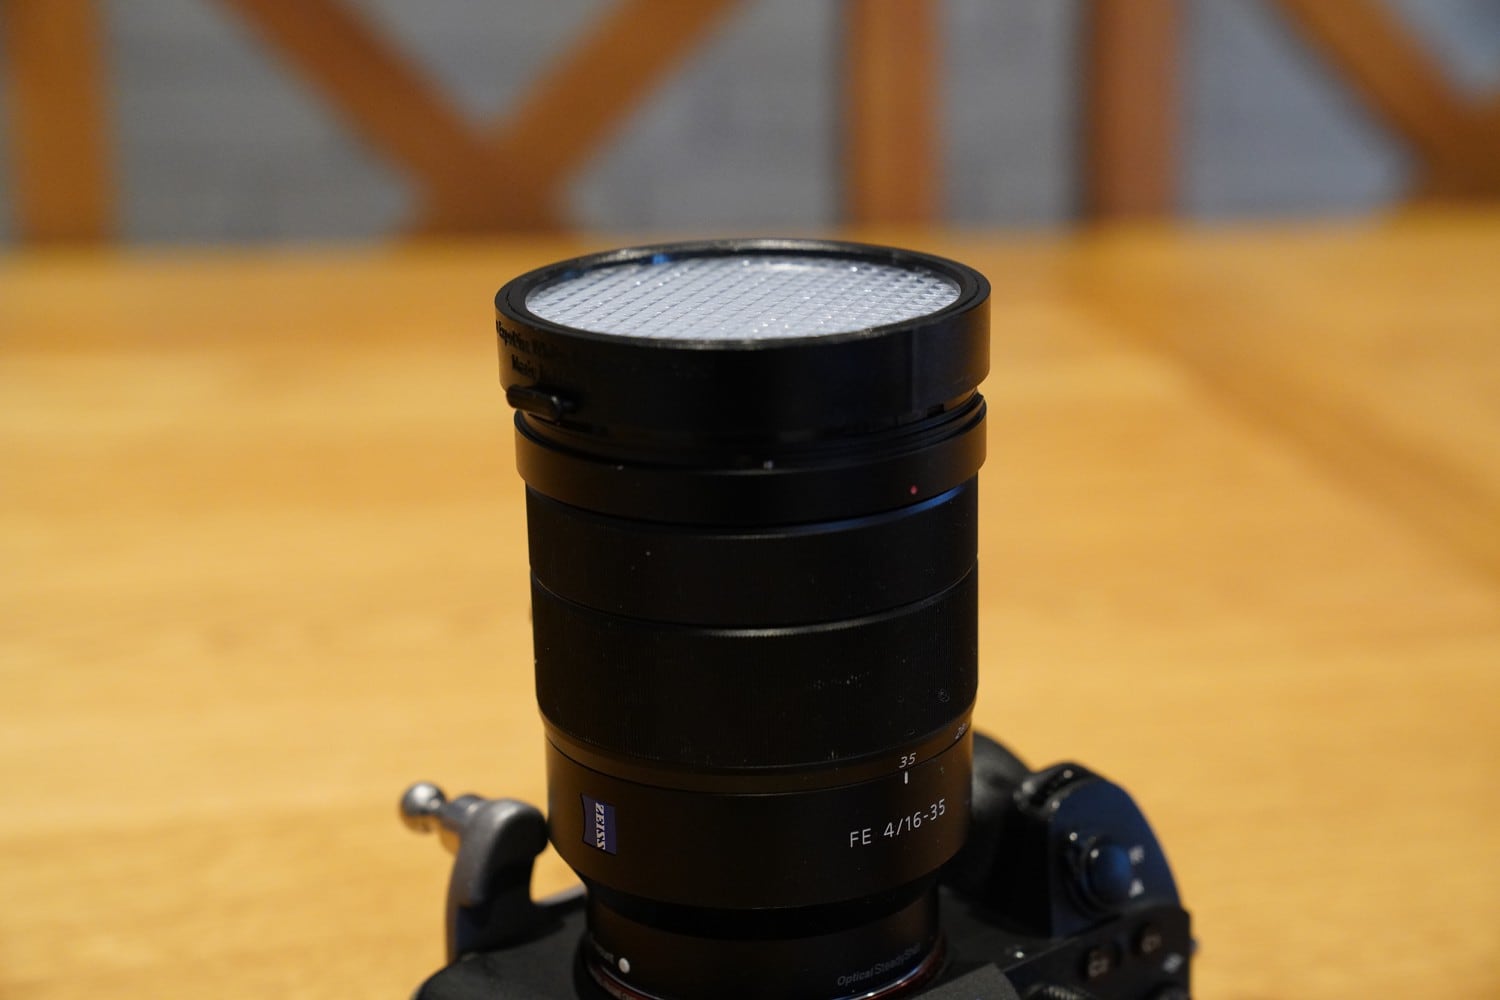
The way I prefer to do it is to hold an Expodisc over the front of my lens then repeat the above. I find it easier to see dust/dirt when it is against a grey background rather than the sky since you can often miss spots if a cloud is in the frame. It is literally the only reason I keep my Expodisc around nowadays.
Once you’ve taken a photo then typically you can zoom in using the back of the camera or on your computer afterwards and see where the dust is.
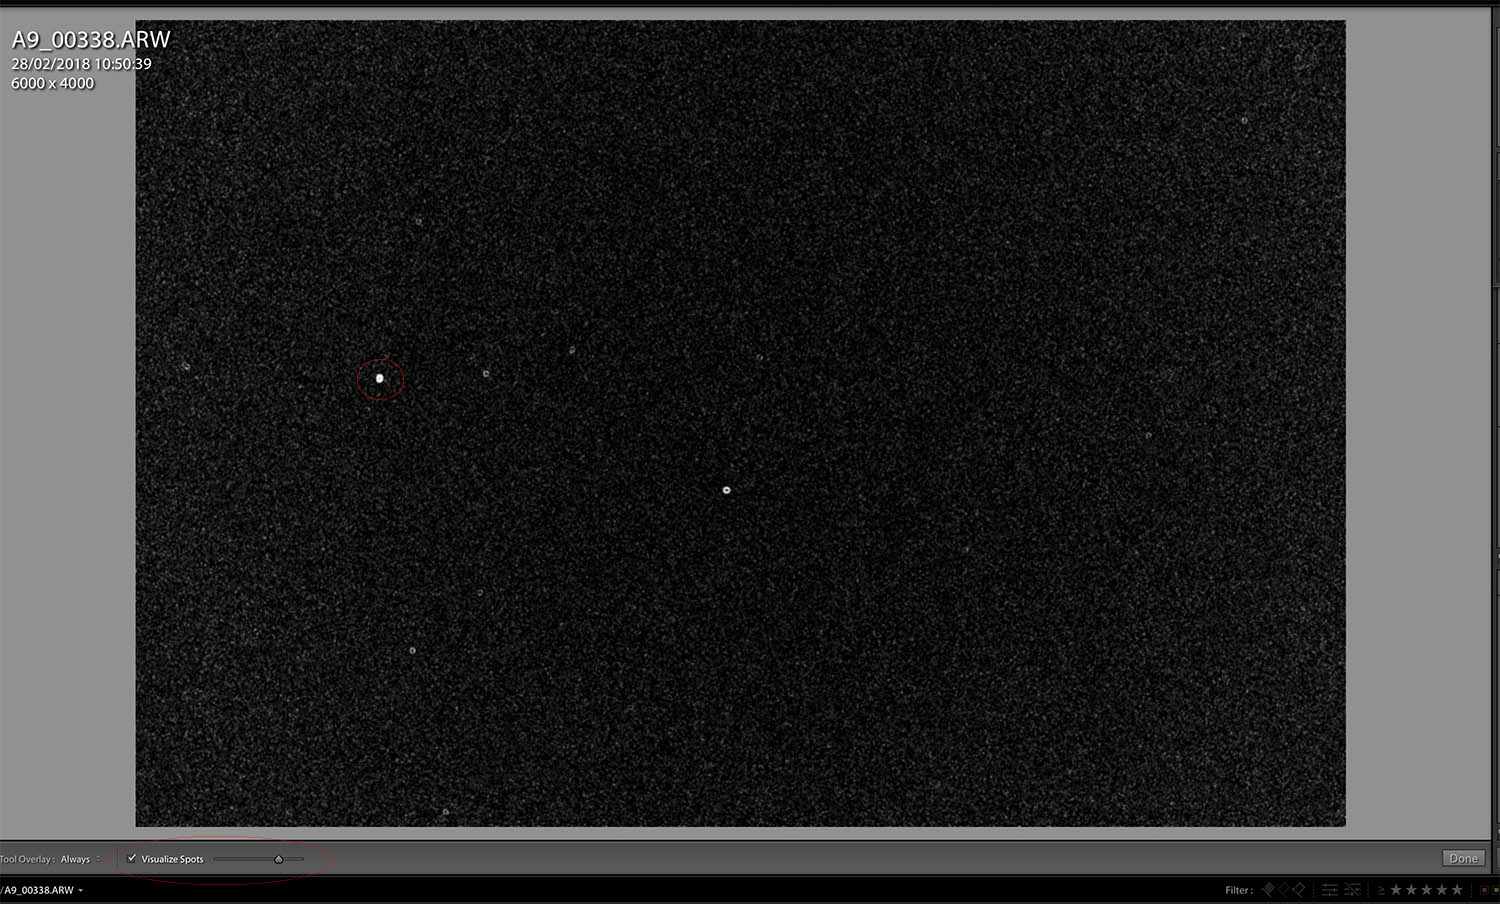
Lightroom has a brilliant feature called ‚ÄòVisualize Spots’ where LR will invert the image and you can raise the contrast levels to easily view dust spots or dots on your image. I use this feature a lot for my dramatic sky photographs. To activate this function, press Q then look for the tick box near the toolbar at the bottom (See picture)
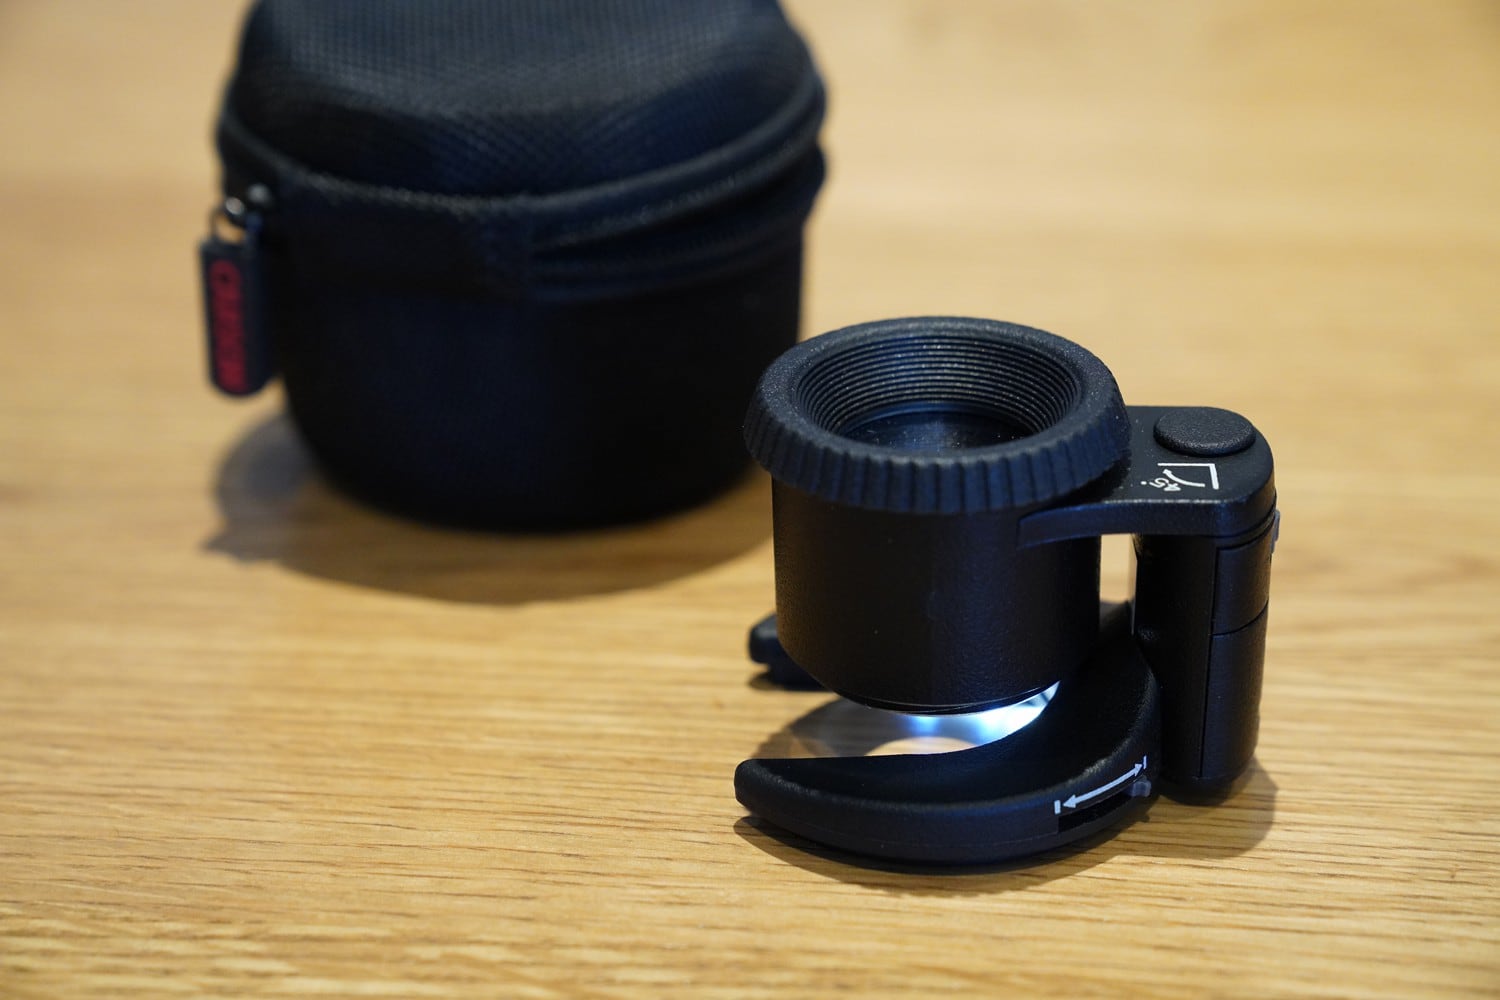
The other tool I have in my box is a Carson SensorMag loupe. This is essentially a little magnifying glass with LED’s to light up the sensor so you can more easily see areas you need to clean. This worked well with my Nikon DSLR but a word of warning to mirrorless users. Due to the fact the distance between the lens mount and sensor is much less, the loupe doesn’t focus properly. The workaround is to use a lens adapter to make the distance the same again.
Ways to clean your sensor
Professional Cleaning Service
The easiest but not the cheapest thing to do is to get it done professionally. Many shops will offer this as a paid service. If you don’t have a store nearby then there are companies out there including your camera manufacturer who can do it for you.
The advantage is you get a professional service and if heaven forbid anything goes wrong, you’ve someone to hold responsible.
The disadvantages are cost and time. Over time the costs can mount up and whilst the camera is away, you can’t use it. This certainly is not an option for me during peak wedding season. The last thing I want is to lose my cameras for a week or two whilst they are being cleaned!
Shops will also probably use exactly the same tools as you can buy yourself. What you’re paying for is their experience and as a result, risk mitigation.
Do it Yourself!
OK so you’ve already decided it is time to learn how to do it yourself. Great! It’s really not that scary and it will save you a bunch of money.
Before we go on though. Unfortunately we do live in a very litigious world. I would be remiss not to point out that you are responsible for your own actions. If you are not 100% confident with what you are doing then the best advice I can give is to take it to a professional.
I am happy to share my tips based on my own personal experience but I cannot be held responsible if you somehow manage to damage your own camera. Understood? OK? If so, Let’s move on!
Step One – Mirror up!
If you are using a DSLR camera then you will need to set your camera to lock the mirror up. Usually there will be an option in your settings menu but refer to your manual if you are not sure. Always use a fully charged battery although most won’t let you initiate this feature if the battery is too low anyway. Best not to tempt fate though eh?
I also don’t recommend removing the battery whilst the mirror is locked up. You really shouldn’t have reason to anyway.
Flipping the mirror out of the way means you can now finally see the sensor and get to it to clean it.
If you are using a mirrorless camera then unsurprisingly you don’t need to do this. Go to step two.
Step Two – Use the built in Camera sensor clean
Check if your camera has a built in sensor clean option. Often this is available on the higher end cameras and can be found in the setup menu:
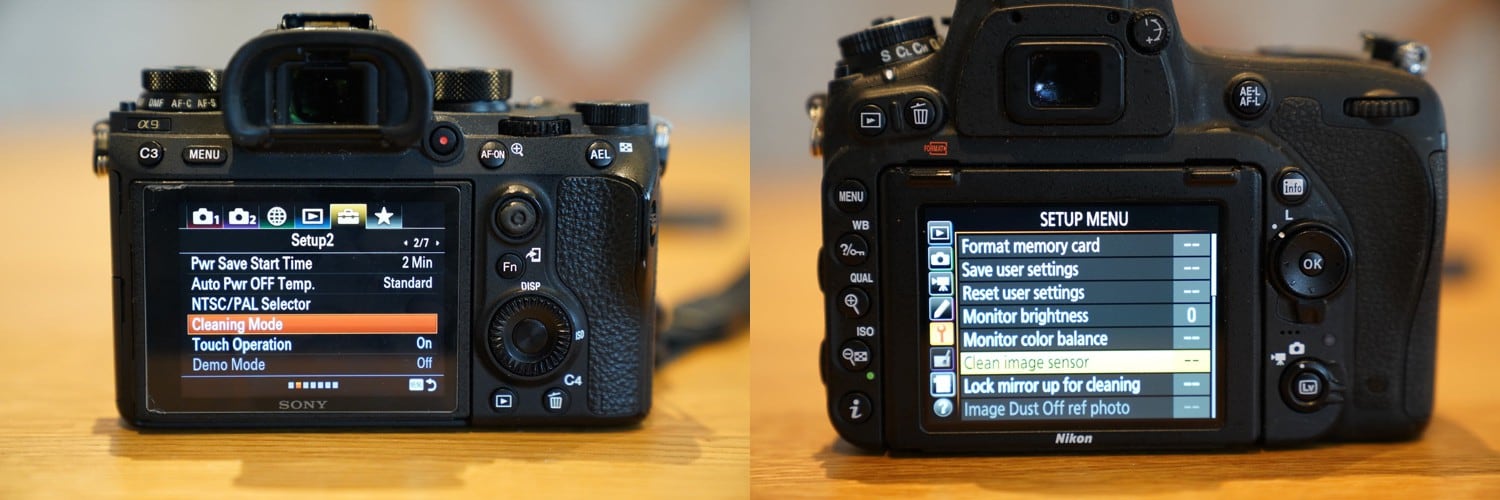
This is the simplest and safest way to clean your camera’s sensor. Usually what happens is the camera will try to shake the dust loose. In practice though I’ve found this method is the least effective but it is worth a go. The reason I put this as step two is hopefully step one may loosen some of the dust.
Step three – Check your sensor
It’s worth checking your sensor at this point to see if it is clean. If it is then happy days. If not then it’s time to take a deep breath and get the big guns out‚ erm I mean rocket!
Step four – Use a rocket blower
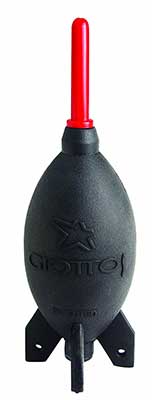
The job of a rocket blower is simply to blow air onto the sensor to dislodge dust. It won’t help if you have oil on your sensor. Which can happen. The Nikon D600 was notorious for it.
To use a rocket blower, hold your camera so the sensor is pointing downwards and use the blower to try and blast as much dust free as possible. Why hold your camera this way? Gravity. You want the dust to come out of the camera box, not just to blow it around.
The most important thing to remember is the blower should never ever make contact with the sensor itself, or you risk scratching it.
I usually lift both the blower and camera above my eye height so I can see what I’m doing then hold the blower so it is about 1 inch from the sensor. That’s close enough for the air coming out of the blower to be effective but not so close that if I move my hand a little that the plastic tip will hit the sensor and damage it.
Once you’ve given it a few blasts. You may want to check your sensor again to see if all the spots have gone.
Recommended Item:
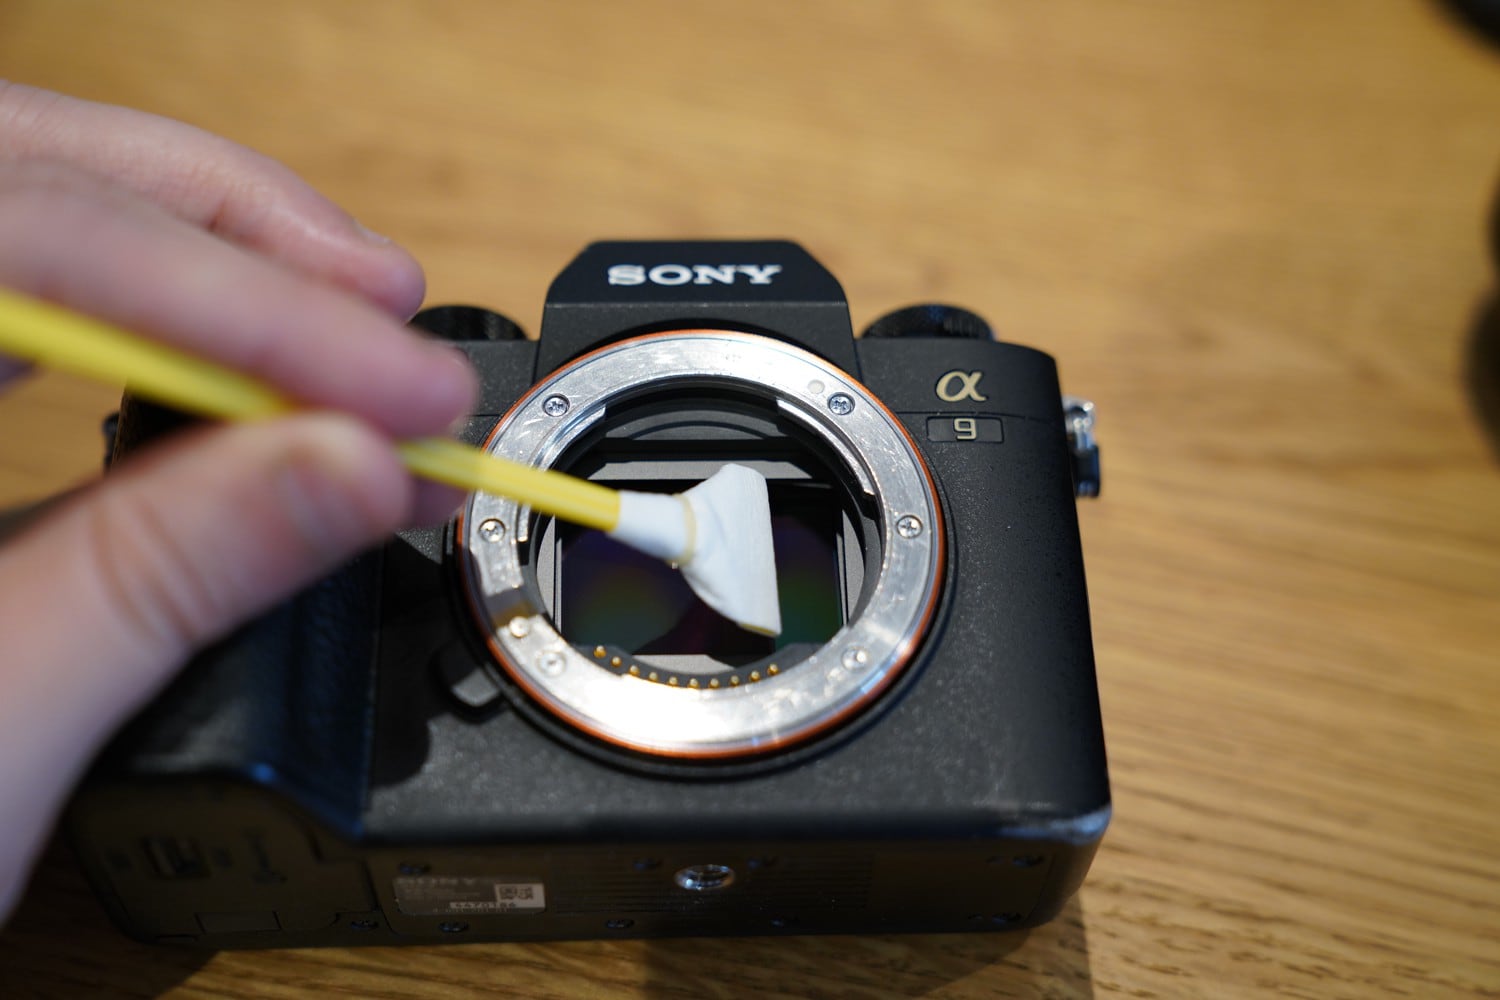
Step five – Gel Stick Clean
The Eyelead SCK-1 sensor gel stick is an amazing invention. One I have used many times. I confess that at the beginning I bought some cheap Chinese copies but found they do not compare. The Eyelead is simply better.
In case you don’t know how they work. You dab your sensor using the gel pen. Dust/Oil sticks to the gel which you then transfer to the small strips of viscous paper which is designed to be stickier than the gel stick. It’s actually an incredibly effective system.
My suggestion is to dab the Eyelead gel stick against the paper a couple of times first. This is to make sure no debris is lingering on the stick. Next gently dab the the stick onto the sensor. You should not apply a lot of force but a little GENTLE press is fine.
After a few dabs, press the gel stick onto the viscous paper and repeat. Each time moving the position of the stick so eventually you’ve covered the entire frame.
Recommended Item:
Eyelead SCK-1 kit for DSLR (Nikon/Canon)
Eyelead Cleaning Paper Replacement
Step six – Wet clean
My advice here is to invest in a decent swab kit. For example, check out reviews on Amazon. Personally I wouldn’t buy a cheap unbranded kit from eBay anymore than I would use an unbranded SD card to store my wedding photos on. The risk of disaster is too much for me to risk.
Typically swab kits will come with a swab head. The head should be the right size for your sensor. This is quite important. Especially if you have for example an APS-C camera. Swab heads designed for full frame cameras wouldn’t fit properly. The swab head should be the same width as your camera sensor.
You should also use the provided lens cleaning fluid. Put a drop, maybe two onto the swab head. Not too wet though. Now GENTLY start from one side of the sensor. Move it slowly across the sensor. When you get to the end, use the other side of the swab head to go back to the start. Don’t be tempted to put too much fluid on or you will end up with streaks.
That should be it! Simple eh?
Well hopefully. However when I first started doing wet cleans, I seemed to put too much fluid on and smear the sensor. I also learned the hard way to use a good swab kit. I purchased a kit from some random stand at the Photography Show earlier this year which had a tendency to leave lint all over my sensor. Thankfully I had my trusty Eyelead stick to save me. After the lint was removed, I used my old swabheads to go over the sensor again. It was a right faff so trust me. Don’t cheap out on this one.
Recommended Items:
VSGO Cleaning kit for full frame cameras
VSGO Cleaning kit for APS-C cameras
Final Thoughts
The first time you clean the sensor yourself will be the most nerve wracking. Yet it is just like riding a bike. Once you’ve cracked it, you’ll never look back. You can potentially save time & money by not needing to send it off to a shop. By doing it yourself you can also do it more often too. There’s no need to do it too often though. Just when you start noticing dust bunnies on your sensor.